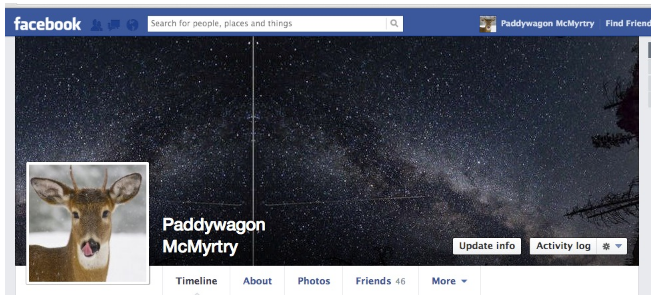
Facebook Photo Cover
Sunday, May 20, 2018
Edit
If you want a guide to whatever you have to learn about editing and sizing your Facebook profile images and cover photos, then this is Facebook Photo Cover a simple and thorough tutorial that will guide you step by step. Ensure to save this link.
Part I: Getting The Dimensions Right
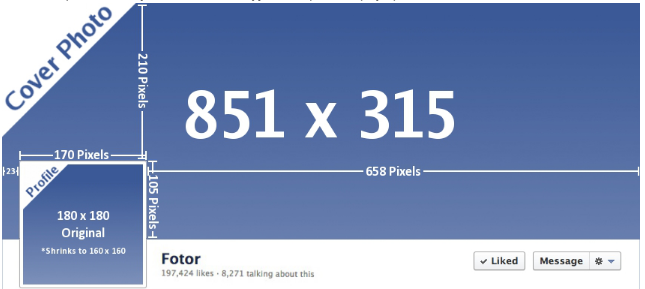
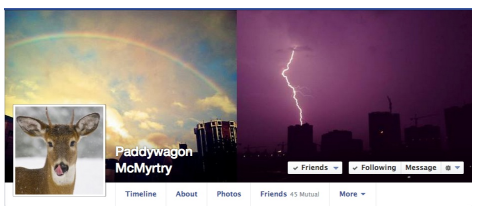
1. Ways to modify a Cover Photo: 851 x 315 px
You can't upload a cover photo that's less than 720 px broad. For sharp, crisp images, begin with a canvas that's twice the size (1702 x 630 px). For images with text or graphics, you might get a higher quality result by utilizing a PNG file.
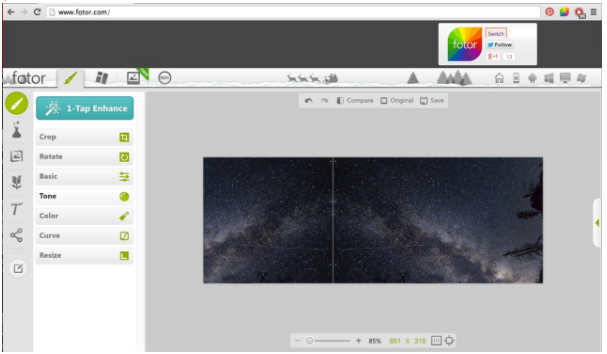
A. Go to Fotor.com and click edit an image, Basic Edits, then Crop. Make sure your image is at least 851 x 315 pixels before you begin. Under Crop, type in 851 x 315 and crop the photo.
Before:

After:
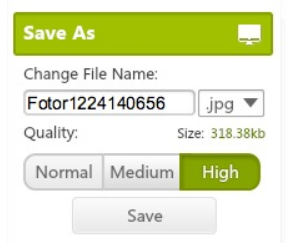
B. Save As: Ensure to save it under the Top quality settings and save it to a hassle-free location that you will be able to find later on.
2. Profile Photo: 160 x 160 px.
Profile photos must be at least 180 x 180 px to submit then are shrunk down to 160 × 160. Rectangle-shaped images will be cropped from the center of the image. When you post an update, comment or like another person's page, your profile picture will appear at 90 x 90 px.
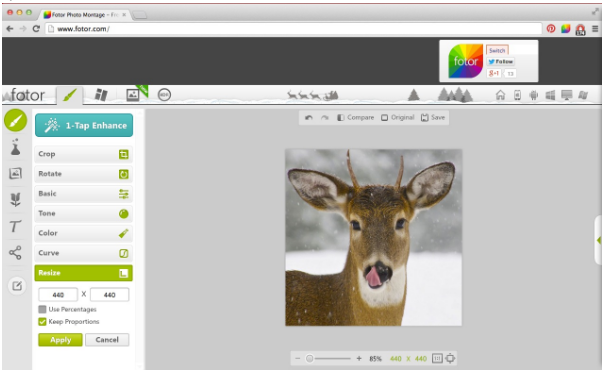
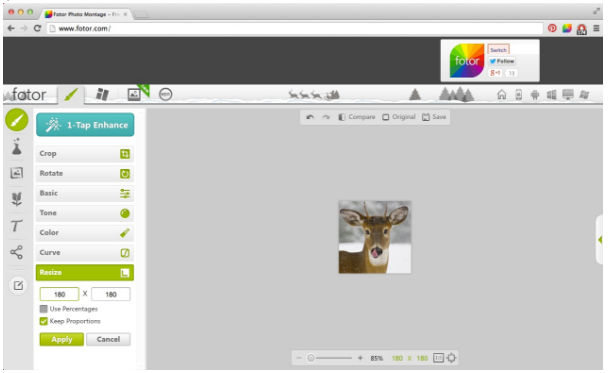
A. Go to Fotor.com and click modify a photo, Fundamental Edits, and then Crop. Ensure your photo is at least 180 by 180 pixels prior to you begin. Under Crop, key in 180 by 180 and crop the photo.
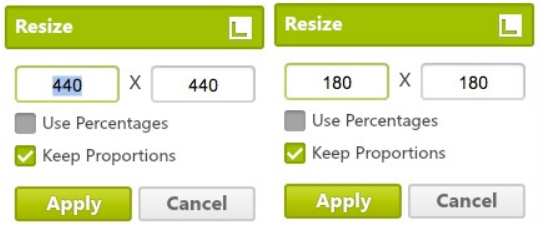
B.You may discover that the dimensions are appropriate however you need to resize the photo. In this case, click resize. Make sure when ended up cropping and resizing that your photos measurements are 180 x 180 pixels.
Before:.
After:.
B. Again, remember to Save it: Make sure to wait under the High Quality settings and wait to a convenient location that you will remember.
Part II: Uploading to Facebook.
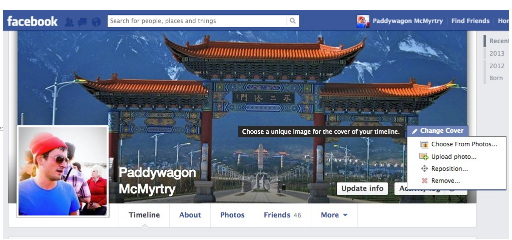
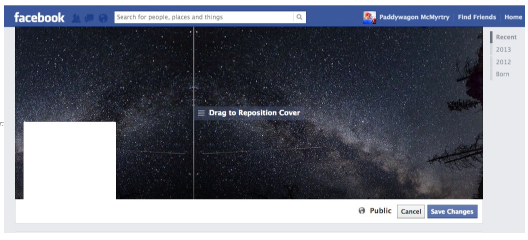
1) Go to Facebook and to the top of your profile screen and hover over your cover photo. Click modification cover image and publish the cover picture you previously modified. This will change your cover picture.
Prior to.
After:.

2. Now, hover the mouse over your profile picture, click upload an image, and submit the profile image you edited using Fotor.
Tada! We are done!
To begin modifying your Facebook pictures at Fotor click on this link. Also come visit our Facebook page. If you have any concerns feel complimentary to ask us here on the blog or contact us at support.fotor.com.
Best of luck!
- The Fotor Group.
BTW: we nearly forgot to tell you. You can also use Image Collage to make a Facebook Cover Picture. Actually quickly we will show you how.
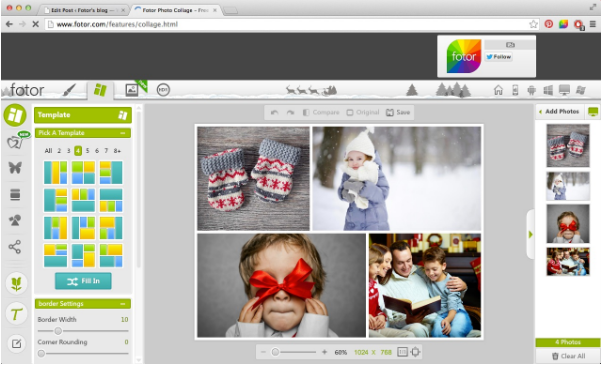
1. Go to Fotor Image Collage and click Get Started Now. Click which template you choose and then scroll down on the left toolbar.
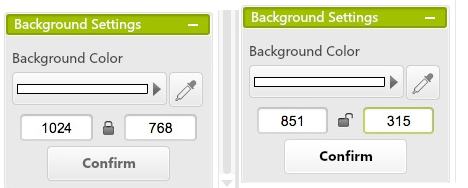
So scroll down the left hand toolbar up until you see this. Notification how you should first unlock it and after that change the dimensions to the Facebook measurements (851 × 315).
The collage design template now looks like this. Notice you can adjust the border width and rounding. (I recommend using the 2 vector template because it looks a little bit cleaner).
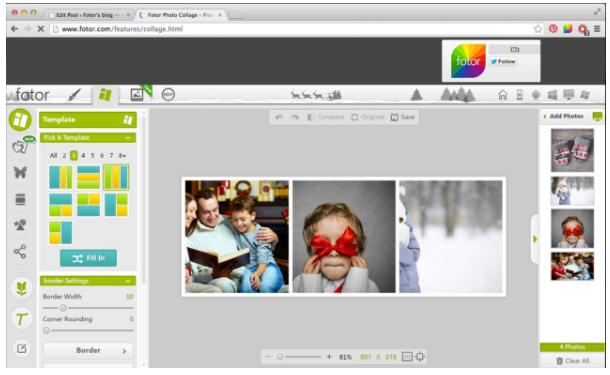
Start adding your images. You can change the zoom, the lightness, the filter, as well as the rotation of each picture.

Bam. Its done! Conserve it then upload it as your Facebook cover picture the same as in Part II Step 1 earlier back.
Excellent searching people!
Share Facebook Photo Cover with your friends.
Facebook Photo Cover
Part I: Getting The Dimensions Right
1. Ways to modify a Cover Photo: 851 x 315 px
You can't upload a cover photo that's less than 720 px broad. For sharp, crisp images, begin with a canvas that's twice the size (1702 x 630 px). For images with text or graphics, you might get a higher quality result by utilizing a PNG file.
A. Go to Fotor.com and click edit an image, Basic Edits, then Crop. Make sure your image is at least 851 x 315 pixels before you begin. Under Crop, type in 851 x 315 and crop the photo.
Before:
After:
B. Save As: Ensure to save it under the Top quality settings and save it to a hassle-free location that you will be able to find later on.
2. Profile Photo: 160 x 160 px.
Profile photos must be at least 180 x 180 px to submit then are shrunk down to 160 × 160. Rectangle-shaped images will be cropped from the center of the image. When you post an update, comment or like another person's page, your profile picture will appear at 90 x 90 px.
A. Go to Fotor.com and click modify a photo, Fundamental Edits, and then Crop. Ensure your photo is at least 180 by 180 pixels prior to you begin. Under Crop, key in 180 by 180 and crop the photo.
B.You may discover that the dimensions are appropriate however you need to resize the photo. In this case, click resize. Make sure when ended up cropping and resizing that your photos measurements are 180 x 180 pixels.
Before:.
After:.
B. Again, remember to Save it: Make sure to wait under the High Quality settings and wait to a convenient location that you will remember.
Part II: Uploading to Facebook.
1) Go to Facebook and to the top of your profile screen and hover over your cover photo. Click modification cover image and publish the cover picture you previously modified. This will change your cover picture.
Prior to.
After:.
2. Now, hover the mouse over your profile picture, click upload an image, and submit the profile image you edited using Fotor.
Tada! We are done!
To begin modifying your Facebook pictures at Fotor click on this link. Also come visit our Facebook page. If you have any concerns feel complimentary to ask us here on the blog or contact us at support.fotor.com.
Best of luck!
- The Fotor Group.
BTW: we nearly forgot to tell you. You can also use Image Collage to make a Facebook Cover Picture. Actually quickly we will show you how.
1. Go to Fotor Image Collage and click Get Started Now. Click which template you choose and then scroll down on the left toolbar.
So scroll down the left hand toolbar up until you see this. Notification how you should first unlock it and after that change the dimensions to the Facebook measurements (851 × 315).
The collage design template now looks like this. Notice you can adjust the border width and rounding. (I recommend using the 2 vector template because it looks a little bit cleaner).
Start adding your images. You can change the zoom, the lightness, the filter, as well as the rotation of each picture.
Bam. Its done! Conserve it then upload it as your Facebook cover picture the same as in Part II Step 1 earlier back.
Excellent searching people!
Share Facebook Photo Cover with your friends.